


Elevate Your Fashion Photography with These Three Essential Lighting Tricks
- Longview Studios
- Jun 17, 2025
- 2 min read

Updated: Jul 17, 2025
Three Lighting Tricks to Make Your Fashion Photography Look High-End
If you're looking to take your fashion photography from good to editorial-quality, lighting is where it all begins.** The right lighting setup can elevate your images, highlight your model’s best features, and create that high-end, luxury feel that sets professional work apart.
At *Longview Studios*, lighting is the foundation of every fashion shoot we do. Whether we’re working with natural light or a full studio rig, these three lighting techniques are essential for creating polished, publication-worthy imagery.
---
1. Soften Your Light for Smooth, Flattering Skin
One of the most common lighting mistakes in fashion photography is using a harsh or direct light source. This can create unflattering shadows and emphasize skin texture in ways you don’t want.
The Fix? Use soft, diffused light.

* Studio Tip:Use a large **softbox**, **umbrella**, or **octabox** to spread light evenly.
* **Natural Light Tip:** Place your model beside a **large window** with sheer curtains or shoot on an overcast day for beautiful, diffused results.
Soft lighting creates **smooth skin tones**, minimizes blemishes, and produces a clean, luxurious look that flatters your subject.
📸 At Longview Studios, we often build entire lighting setups around one beautiful window—it’s all about quality, not quantity.
2. Add a Hair Light for Pro-Level Separation
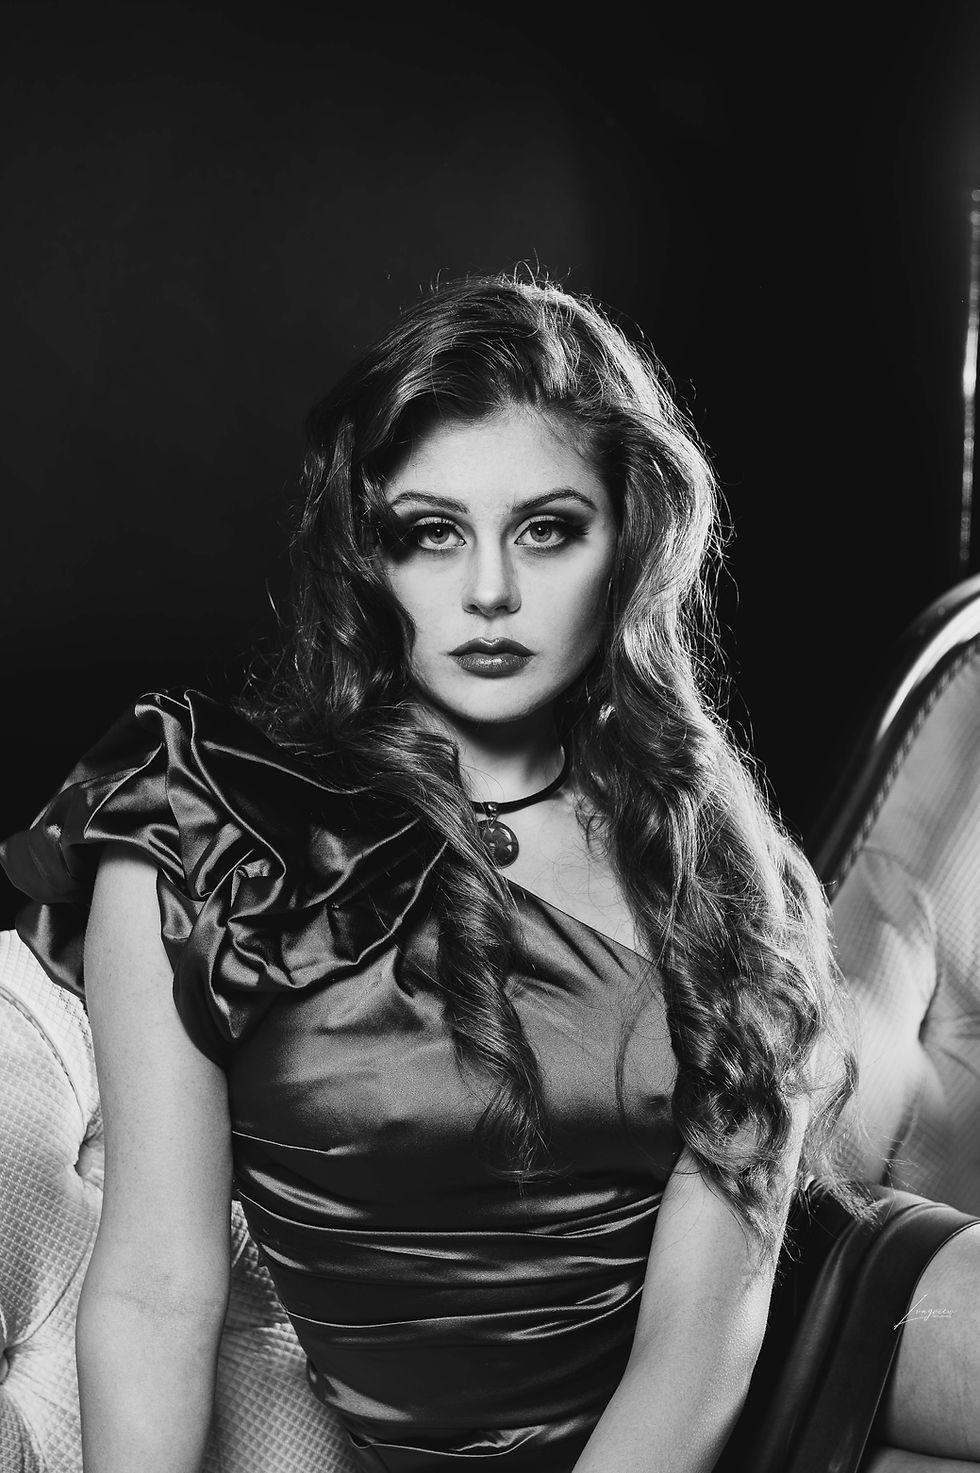
This is the secret sauce behind that professional "pop" you see in magazine editorials. A **hair light**, also called a **rim light**, adds subtle highlights to the model’s hair and shoulders, creating separation between them and the background.
### How to Use It:
* Position a small light **behind and above** the subject.
* Use a **grid**, **strip softbox**, or even bare bulb (carefully!) to control spill.
* Adjust the angle so it doesn’t flare into your lens or overexpose the edges.
The result? **Depth, polish, and dimension**—especially effective in darker environments or when shooting with seamless backdrops.
---
3. Use a Bounce Card to Soften Shadows

Even with perfect key lighting, shadows can appear under the eyes, nose, or chin—especially in tighter beauty shots. A **white bounce card** or reflector helps fill those shadows without introducing harsh secondary light.
### Try This:
* Place a white foam board or reflector just out of frame below your model’s face.
* For warmth, try a gold reflector—especially for outdoor or golden hour shoots.
This simple trick gives your model a radiant, editorial glow and keeps skin tones looking rich and balanced.
---
📷 Before & After: Why These Tricks Matter
**Before:** Harsh shadows, flat lighting, lack of separation.
**After:** Smooth skin tones, dimensional light, subject pops from background.
These adjustments are small, but the difference in quality is massive. **They turn a decent photo into a luxury fashion image**—the kind that stops people mid-scroll or belongs in print.
---
Final Thoughts: Lighting is the Foundation of Luxury
If you want to consistently shoot magazine-level fashion images, your lighting setup needs just as much attention as your model or wardrobe styling.
These three techniques—**soft light, rim lighting, and bounce fill**—are beginner-friendly but powerful. With consistent use, you’ll start seeing a major difference in the quality, tone, and professionalism of your work.


Comments